Are you interested in learning more about how we do this? Are you wanting to start your own lights display? Below is a lot of information we have learned over the years to hopefully help you get started!
A few critical questions to ask yourself that will drive your approach:
- Are you going to use “traditional” lights or RGB pixels? (I started with traditional and slowly have added pixels)
- Do you have ample power supply/fuses to safely run all of the lights? Every box of lights in stores typically has the amps/watts used per strand
- If you plan on using a lot of lights, you may want to consider switching to all LED which draws substantially less power
- Are you looking to go the DIY route or more “pre-packaged” approach for synchronization software/hardware?
My biggest advise is start small and grow gradually. Biting off more than you can chew could potentially take some of the fun away.
Included is a lot of technical take aways, things I have learned and links to where to buy supplies (about half of what is below) but please donot be overwhelmed. This hobby can be as simple or complicated as you would like.
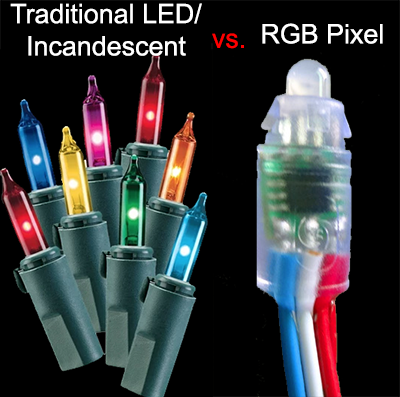 Type of Light
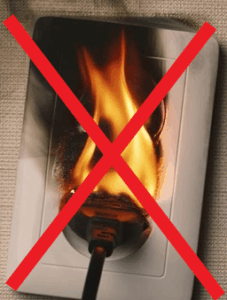 Power Supply


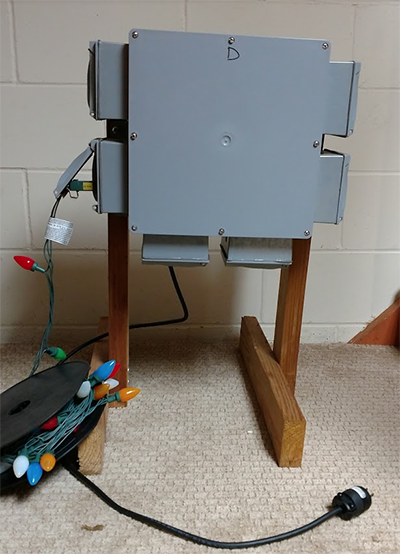
Personally I designed my boxes before that video was out there and made mine water tight with waterproof electrical outlets, a PVC enclosure and 24 plugs/relays (they sit in the yard). There are cheaper ways to build but with Minnesota winters I try to make it as water tight as possible.
- Enclosure (the picture doesn’t look like the actual box): https://www.homedepot.
com/p/12-in-x-12-in-x-6-in- Junction-Box-R5133713/ 202043349 - Relays that I use (3 per enclosure):https://www.
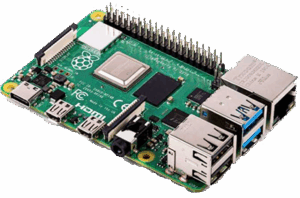
amazon.com/gp/product/ B00DR9SE4A/ - Computer(s): 1 full power https://www.raspberrypi.org/products/raspberry-pi-4-model-b/ (also requires an SD cardhttps://www.amazon.com/
gp/product/B073K14CVB/) - 1 “dummy” computer simply to provide voltage to additional relay board (can do a cheaper computer https://www.adafruit.
com/product/3708?gclid= EAIaIQobChMIuPmgmJuU3wIVgiNpCh 3_pwEzEAQYAyABEgIV8PD_BwE)
- 1 “dummy” computer simply to provide voltage to additional relay board (can do a cheaper computer https://www.adafruit.
- Connection wire (at least 40 on hand per enclosure): I had found a good deal on ebay years ago too. https://www.adafruit.com/
product/1950 - Then 6 outlets and covers (https://www.homedepot.com/p/
BELL-2-Gang-Weatherproof-Box- with-Five-1-2-in-Outlets-5337- 0B/204208018 and https://www.homedepot.com/p/BELL-2-Gang-Weatherproof-Universal-Flip-Lid-Device-Covers-MX2050WH/205689226 - Also 6 1/2in male to male plumbing nipple that screws into the plug enclosure and main PVC enclosure. I don’t buy the brass but this is what I could find online https://www.homedepot.com/p/Everbilt-1-2-in-MIP-x-Close-Lead-Free-Brass-Pipe-Nipple-Fitting-802679/207176628
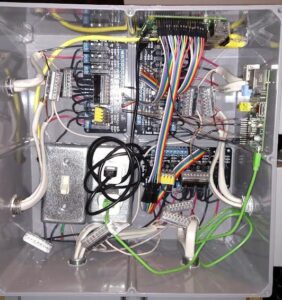
Then I take an eight foot 2×4, cut it up in four pieces and built a frame out of it with the photo of the exterior of the assembled box shown. Below that is the guts/inside of one of these traditional boxes. The only small nuance is that our relays are mechanical (blue) per the link above and not the black ones.
- RGB – Red, Green, Blue as there are three individual lights in “one”
- Pixel/Node – The actual light itself (with the the 3 lights red/green/blue and computer chip)
- Null Pixel – An RGB light that doesn’t light up, simply re-generates the signal and voltage
- 12v vs 5v – The voltage level of the power supply. I prefer 12v as it can travel longer distances. Once you choose a voltage level, stick with that level. Make sure to pay attention when buying lights they are the right voltage
- Universe – This has to due to communication method. Each “Universe” can handle 512 channels but each pixel/node requires 3 channels. Long story short, each Universe can handle up to 170 individually addressable lights.
- DMX – This is the “language” standard that pixels talk to each other
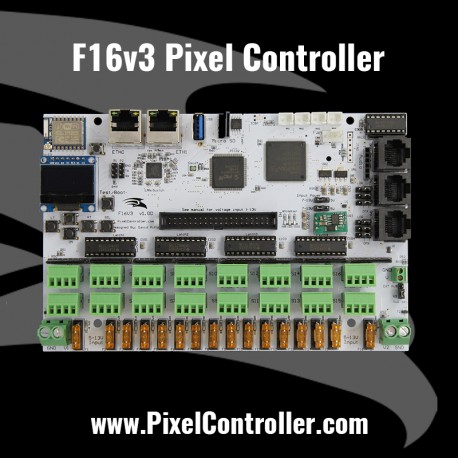
- Controller – The device that converts the sequence to the right “phrasing” for the lights.
- Power Injection – You have another cord providing just power in between strands. A “y” cable can be used in between.
- 2 120v to 12v power supplies (30a) https://www.amazon.com/gp/
product/B009EIANT2/ref=od_aui_ detailpages00?ie=UTF8&psc=1 - 1 Controller (I prefer Falcon Controllers) https://www.pixelcontroller.
com/store/index.php?id_ product=48&controller=product
- Pigtails (what you need to plug the strands into the controller): https://www.
aliexpress.com/store/product/ 10pcs-lot-3–Core-BLACK- Waterproof-pigtail-50cm-long- each-male-and-female-male- connector-s/701799_ 32739097740.html?spm=2114. 12010615.0.0.1a6f49fdPGl4wM - Wires (https://www.aliexpress.com/
store/product/4-5m-15feet-3– core-BLACK-waterproof- extension-cable-one-end-with- male-the-other-end/701799_ 32687282366.html?spm=2114. 12010615.0.0.72100b8bF7s1if) - Null Pixels (you may not need these): https://www.
aliexpress.com/store/product/ DC12V-WS2811-null-pixels-to- regenerate-the-data-signal- with-13-5mm-3–core-black- waterproof/701799_32279633328. html?spm=2114.12010608.0.0. a11c519l3Cbmt
 Misc
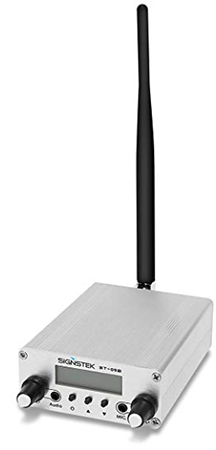
Misc- FM Transmitter (run in high power mode) https://www.amazon.com/
gp/product/B00C91NAEG/ref=od_ aui_detailpages00?ie=UTF8&psc= 1 - Tons of resources/community located at: http://
doityourselfchristmas.com/
There are other explanations out there (which this one is more targeted at engineers): http://www.billporter.info/2017/01/07/the-engineers-guide-to-diy-computer-controlled-holiday-lights/
Any questions feel free to send us a note on the “Contact Us” page with a link at the top of the website.